REVIEW · AUCKLAND
Auckland : Waitomo Spellbound Glow Worm Twin Caves Private Tour
Book on Viator →Operated by Expedigo Tours and Travels Auckland · Bookable on Viator
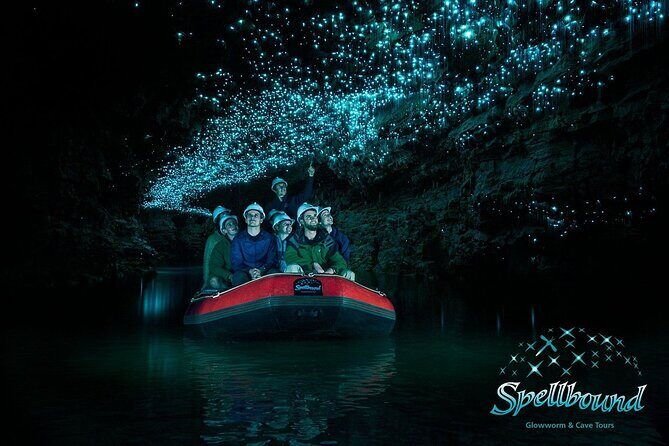
Glowworms light up an underground night sky. This private Waitomo Spellbound Glowworm Twin Caves day turns a long drive from Auckland into something smooth and scenic, with a guided cave program built around the glowworm grotto and the Cave of the Spirit. You also get a relaxed pace thanks to a private transfer in a luxury vehicle and a small group size (up to 11).
I love two parts most: first, the combo of a guided walk and an easy 20-minute boat ride through the glowworms’ “starry sky” effect. Second, I appreciate that you can keep your camera out—there are no photography restrictions, so you’re not timing shots like it’s a museum heist. If your driver and host are Aaron and Pete (names you may see praised), the whole day can feel fast in the best way, because they keep the storytelling flowing.
One thing to plan for: you’ll do some walking (including along an ancient dry riverbed), so go with moderate fitness and wear shoes you trust.
In This Review
- Key highlights at a glance
- Auckland Pickup to Waitomo: a long day made easier
- The van ride across the limestone farm before the caves
- Glowworm Grotto: the boat ride that turns lights into a sky
- Mangawhitikau Gorge and the guided story you actually use
- Te Ana o Te Atua: Cave of the Spirit and its dramatic limestone world
- Tea or coffee break: why this pause improves the cave day
- Otorohanga lunch stop: how to handle food without losing momentum
- Price and value: does $465.43 make sense?
- Who this tour fits best (and who should look elsewhere)
- Quick practical tips before you go
- Should you book the Auckland Waitomo Spellbound Glowworm Twin Caves private tour?
- FAQ
- What time does the tour start?
- How long is the Auckland to Waitomo Spellbound Glowworm Twin Caves tour?
- Do you get pickup in Auckland?
- What is included in the tour price?
- Is lunch included?
- Are there photography restrictions in the caves?
Key highlights at a glance
- Small group size (up to 11) keeps the caves feeling personal, not crowded chaos
- Glowworm grotto + boat ride gives you both the wow moment and a calmer, floaty view
- Te Ana o Te Atua features limestone formations, fossils, and sinkholes—very different from the glowworm section
- Tea/coffee break between caves gives you a breather without losing momentum
- No photography restrictions means you can focus on capturing the moment your way
- Snacks, bottled water, and coffee/tea included so you’re not rationing energy on the day
Auckland Pickup to Waitomo: a long day made easier
This is a full-day outing that starts early, with pickup around 7:45 am from Auckland Central. The big value here is the format: you’re not piecing together a rental car plan, finding parking, then coordinating your own transfers. Instead, you sit back in a private transfer in a luxury vehicle and let someone handle the road math.
From your perspective, that matters because Waitomo is far enough from Auckland that a self-drive day can turn into “drive, drive, drive, and then hope you still have energy for the caves.” With this tour, the driving is built in, and the timing is structured around cave time—plus you get bottled water, snacks, and coffee and/or tea to smooth out the hours.
If you’re sensitive to long transit days, aim to use the morning wisely. Bring a light layer for the car and for time spent outside before you hit the cave sections. (Caves tend to feel cooler than the sunlit surface, even when it’s warm up top.)
Also, you’ll be in an English-speaking guided setup, so the day doesn’t rely on your ability to interpret cave signs and small details. Good guide talk makes the glowworms more than just a pretty view.
You can also read our reviews of more private tours in Auckland



The van ride across the limestone farm before the caves
After pickup, the tour moves from Auckland toward Waitomo with a focused travel day feel. You’ll take a short van ride across a limestone-studded farm before stepping into the gorge area.
That “getting there” segment is more than filler. It sets expectations: you’re going into a limestone world, and the scenery shifts from city rhythm to countryside quiet. It also gives the group time to settle in before the walking begins. In a full-day schedule, the best tours avoid sudden handoffs like: get in the car, arrive, sprint, then wonder what to do with your camera. This one gives you a runway.
One practical consideration: because the day runs about 8 to 9 hours, you’ll likely want to use the early moments for hydration and getting comfortable in your seat. The route is part of the experience, but your feet also need to be ready for the cave walks.
Glowworm Grotto: the boat ride that turns lights into a sky
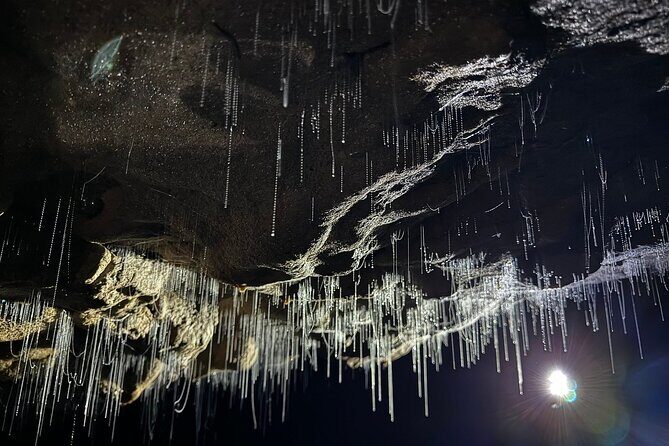
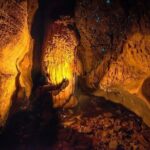
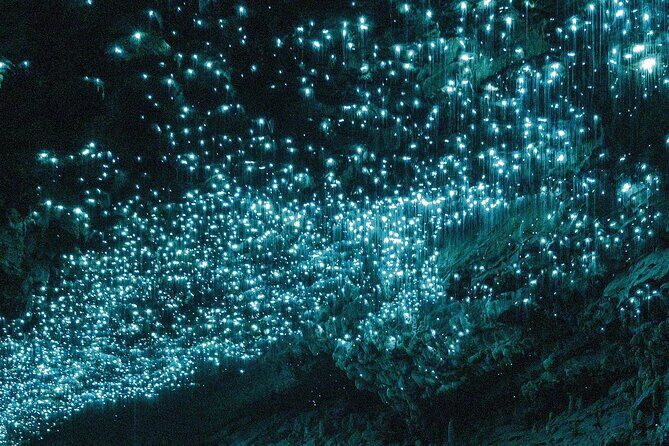
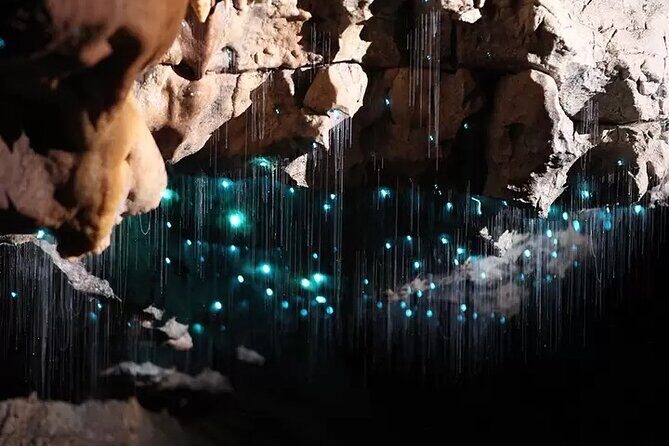
The main wow moment is the Glowworm Grotto, where thousands of glowworms create that starry-sky look inside the cave. You don’t just stroll through and move along. You get a guided experience, plus a calm, signature segment: a peaceful 20-minute boat ride.
For me, this is the best structure because it mixes two kinds of attention:
- Walking helps you take in formations and the guide’s story at a pace you can follow.
- Boating lets you slow down and watch how the glowworms scatter overhead like tiny moving constellations.
A boat segment also helps if you’re not a fast walker. You’re still active, but it’s not constant stepping. It’s a built-in break that doesn’t require you to stop caring.
Photography note: the tour states no photography restrictions, which is a huge deal for Waitomo. Glowworms are all about low light and timing. When you’re not limited on when you can shoot, you can actually experiment—hold steady, try different angles, and catch those wide views the cave naturally gives you. Just use common sense: if you’re adjusting gear, do it in a way that doesn’t block the people around you.
Mangawhitikau Gorge and the guided story you actually use
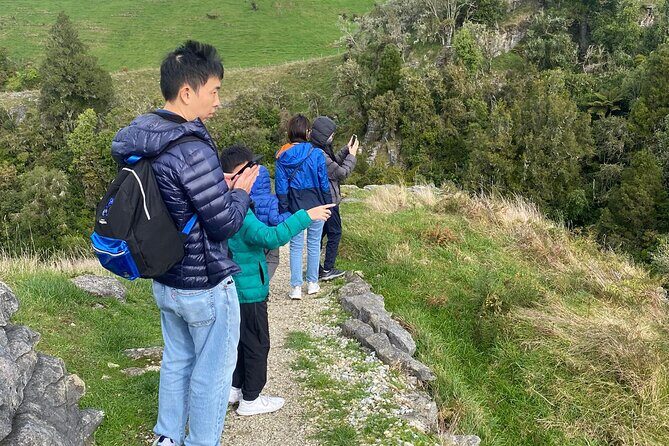
Before the grotto, you’ll be led through Mangawhitikau Gorge. The value of guided cave time is that it gives names and meaning to what you’re seeing—so your photos and memories have context.
The guide experience matters because glowworms aren’t just decorative. The tour is built around a guided 180-minute cave program, so you’re not left thinking, Okay, pretty lights. What am I looking at exactly?
A practical trick: pay attention once early, then you’ll know what to look for later. For example, if the guide points out how formations relate to the cave’s natural processes, you’ll start noticing those patterns on your own as you move through.
And if you’re lucky enough to have the sort of hosts praised for making the day fly—like driver Aaron and host Pete, names that came up in standout feedback—you’ll likely get that mix of clear explanation and an easy pace.
Te Ana o Te Atua: Cave of the Spirit and its dramatic limestone world
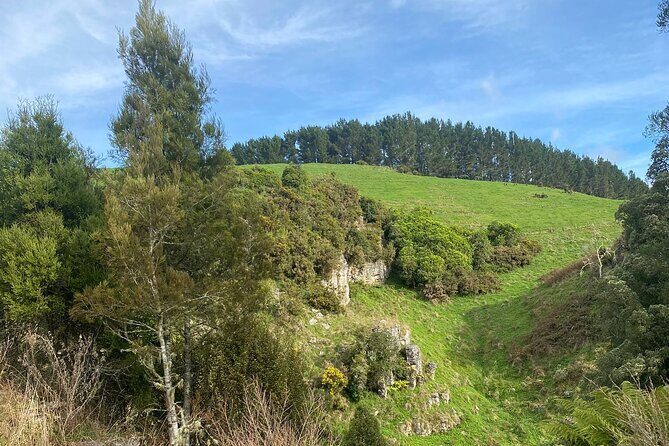
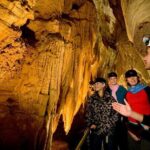
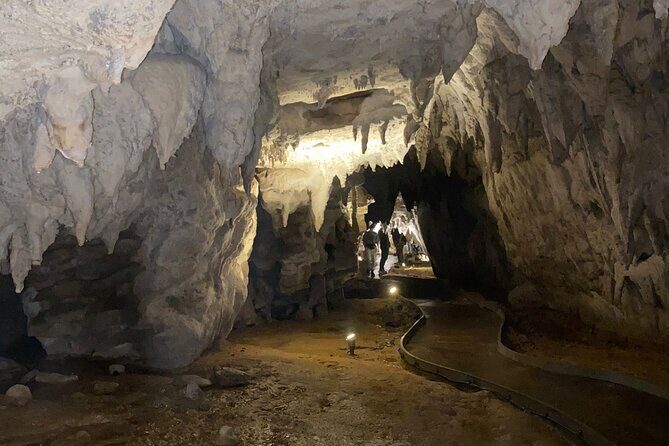
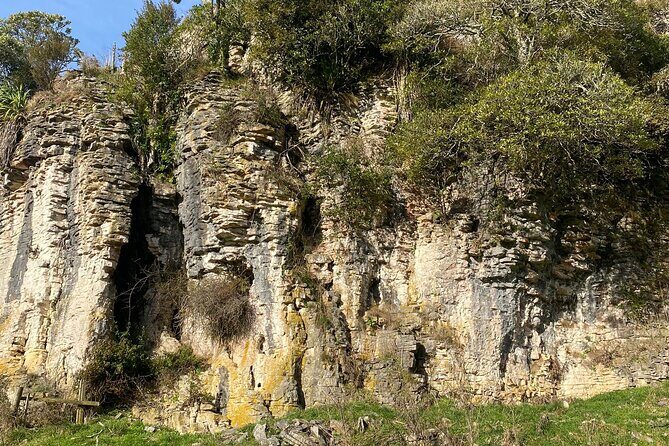
After the glowworm section, the tour shifts to another kind of cave experience: Te Ana o Te Atua, the Cave of the Spirit. This part is less about starry lights and more about the geology show.
You’ll walk along an ancient dry riverbed, then enter a cave area known for:
- dramatic limestone formations
- fossils
- natural sinkholes
This change of scenery is key. Glowworm caves can blur together for people who do a lot of cave tours. But here, the second section is genuinely different—more “handsome rock shapes with scientific clues” than “underground light show.”
If you like structure in nature, this is a strong match. The dry riverbed walk gives you a sense of how water and time shaped the ground, and the formations then feel earned, not random.
One drawback to consider: this is more walking than the boat portion. If you’re balancing a moderate fitness level, go slowly on the steps and keep your footing. Comfortable shoes matter more here than in a typical sightseeing stop.




Tea or coffee break: why this pause improves the cave day
Between cave sections, you’ll have a tea or coffee break in serene surroundings. This is one of those small logistics details that turns out to be big.
Cave tours have a rhythm problem: if you schedule too tightly, you feel rushed and you stop absorbing the experience. A short pause helps you reset, warm up if you’re feeling cool, and refocus your attention. It also gives your guide a moment to adjust pacing without turning the tour into a sprint.
Since snacks and bottled water are included, you can top up energy before the next walking portion. If lunch isn’t included (it isn’t), this tea/coffee stop becomes a helpful buffer so you don’t reach the later part of the day hungry and distracted.
Otorohanga lunch stop: how to handle food without losing momentum
You’ll stop in Otorohanga for a lunch break. The important detail: lunch is not included in the tour price. The guide will provide suggestions for where to eat.
This is a fair setup for value, because it keeps the tour flexible for dietary needs and tastes. But you should plan how you’ll use your time. If you’re the type who likes sitting down for a full meal, it helps to think ahead: don’t delay at the car for snacks and water and then discover you only have enough time for a quick bite.
If you have dietary restrictions, this is where you’ll want to act efficiently—ask about options early, or pick a place that clearly handles substitutions. The good side: you get local lunch choices without being stuck with a set menu you didn’t pick.
Price and value: does $465.43 make sense?
At $465.43 per person, this is not a budget day trip. So the real question is what you’re paying for.
You’re covering:
- a private transfer in a luxury vehicle from Auckland and back
- a guided 180-minute cave experience (with English-speaking guide)
- cave access and included refreshments (bottled water, snacks, coffee and/or tea)
- a small group format (up to 11), plus the fact it’s a private tour/activity for your group
Where this becomes good value is when you add up the hidden costs of DIY travel: fuel, parking stress, timing mistakes, and the chance you’ll cut a cave visit too short because your drive ran late. Here, the day’s built around the caves with a schedule that protects the “main event” time.
Where it might not feel like a deal: if you’re traveling solo or on a tight budget and you don’t care about the guide-driven pace. In that case, the cost can feel steep compared to a self-arranged option.
My practical rule: if you want stress-free transport + guided cave interpretation + a small-group experience, the price is easier to justify. If you’re confident driving and you’d rather spend money on food and flexible stops, you may feel differently.
Who this tour fits best (and who should look elsewhere)
This tour is a great match if you:
- want Waitomo without the hassle of driving and timing
- like guided explanations that help you understand what you’re seeing
- prefer a small group rather than a large bus crowd
- care about capturing the glowworms (since no photography restrictions are part of the plan)
- are comfortable with moderate walking and a long day out of Auckland
It may be less ideal if you:
- want lots of free time for wandering and long lunch detours (lunch is on your own)
- have very limited mobility for walking stretches along cave approaches and the dry riverbed
The best thing to remember is that this is a structured day. You’re not just visiting caves. You’re following a plan built around two very different cave sections.
Quick practical tips before you go
A few things that will make your day smoother:
- Wear comfortable, grippy shoes for the walk segments.
- Use the included water and snacks early so you don’t feel rushed later.
- Bring a light layer. Caves can feel cooler than you expect, even when the day is warm.
- If photography matters to you, treat the day like a light-experiment. With no photography restrictions, you can try angles and timing instead of guessing what’s allowed.
Also, since the tour needs good weather, keep an eye on conditions the day of your booking. Bad weather can shift plans, and the tour notes this requirement.
Should you book the Auckland Waitomo Spellbound Glowworm Twin Caves private tour?
If your main goal is the glowworms plus a second cave with limestone formations, fossils, and sinkholes, and you want a private transfer with a small group and guidance, I’d book it. The best parts aren’t just the views; it’s the way the day is paced—boat time for the wow factor, a walk that adds meaning, and a break that keeps you from feeling worn out.
On the other hand, if the price is a stretch and you’re comfortable DIY travel, you might shop around. But if you value smooth logistics and a guided experience that helps you actually see what’s in front of you, this is one of the more dependable ways to do Waitomo from Auckland.
FAQ
What time does the tour start?
The tour start time is 7:45 am.
How long is the Auckland to Waitomo Spellbound Glowworm Twin Caves tour?
The duration is 8 to 9 hours (approx.).
Do you get pickup in Auckland?
Yes. Pickup is offered, and you’re provided a private transfer in a luxury vehicle.
What is included in the tour price?
It includes a fully guided 180-minute Spellbound Glowworm Twin Caves experience, an English-speaking tour guide, private transfer, all fees and taxes, bottled water, and coffee and/or tea plus snacks.
Is lunch included?
No. Lunch is not included. There is a stop in Otorohanga for lunch, and the guide provides suggestions.
Are there photography restrictions in the caves?
No. The tour notes that there are no photography restrictions.