REVIEW · AUCKLAND
Private Auckland City Tour For Small Group in a luxury vehicle.
Book on Viator →Operated by Black Car Transfers & Tours · Bookable on Viator
A chauffeured loop quickly makes Auckland feel familiar. This private Auckland city tour is built for people who want a fast, high-comfort way to cover major sights without figuring out parking or rental cars, with pickups and a route you can shape to your pace. I like that it’s designed for small groups (up to 2) with genuine attention from the driver.
Two things I really like: the car experience itself (private, luxury, with WiFi on board) and the way the route is framed as “see the city fast, but not forget it.” The tour also includes snacks plus bottled water, which matters when you’re bouncing between viewpoints. In the feedback I reviewed, guides like Robert and Kris are praised for adjusting the plan to what you already saw, and even for helping with comfort needs.
One possible drawback to consider: this isn’t a budget tour. At $713.66 per group for up to 2, it’s best when the convenience is worth it, and you’ll also want to note that some attractions (like Auckland Museum) are not included.
In This Review
- Key points at a glance
- Private Auckland highlights in a luxury car
- Price and value: how to think about $713.66 for up to 2
- What makes this route work (and how the timing feels)
- Personalization in the real world: small-group flexibility with real drivers
- Stop 1: Mount Eden for instant Auckland orientation
- Auckland Museum and the Winter Gardens: short stop, good payoff
- Bastion Point and Tamaki Drive: harbor views with minimal walking
- Parnell roses and the West Haven marina run
- St Heliers, Archilles Point, then Devonport for a change of pace
- Little Shoal Bay Reserve: the quiet end of a strong morning loop
- What’s included (and what you’ll want to plan for)
- Who should book this private Auckland tour?
- Should you book this private Auckland city tour?
- FAQ
- How long is the Auckland private city tour?
- Is pickup available?
- What group size is this tour for?
- What’s included in the price?
- What’s not included?
- Where does the tour start?
- Is this tour wheelchair or walker friendly?
- Do I get a mobile ticket?
- Can I cancel for a full refund?
Key points at a glance
- Private, small-group format (up to 2) keeps things flexible and less rushed
- Chauffeured luxury vehicle means you skip parking, navigation, and self-driving stress
- Snacks, bottled water, and WiFi onboard help you stay comfortable across a full morning
- Route customization is part of the deal, with drivers adjusting for what you’ve already done
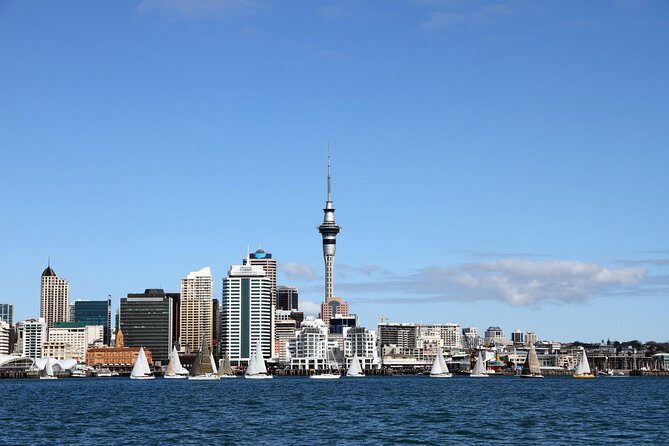
- Harbor-and-volcano viewpoints are packed in, from Mount Eden to Devonport
- Most major stops are free, but Auckland Museum entry isn’t included
Private Auckland highlights in a luxury car
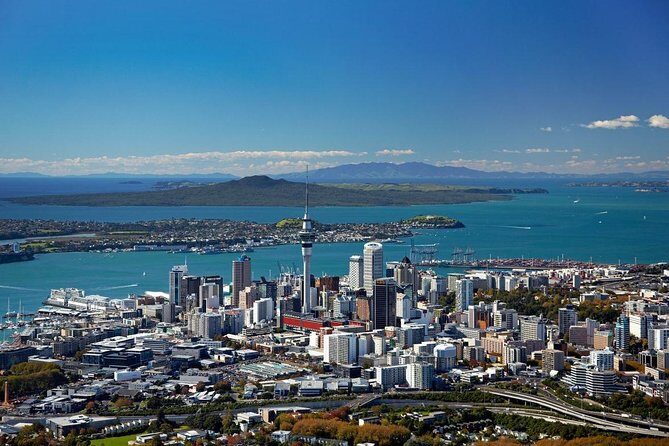
If you’re trying to orient yourself in Auckland, this tour is a practical shortcut. You get driven between key neighborhoods and lookout points, with short stops that help you understand how the city sits between volcanoes and water.
The “private” part matters more than most people expect. When you’re not sharing the car with a crowd, it’s easier to shift timing, slow down at a viewpoint, or move on before you get bored. That’s exactly the vibe the tour aims for: you’re short on time, but you still want the good stuff.
I also like that it’s structured for a morning start (9:00am). Auckland’s top viewpoints and coastal areas tend to look best when you can see them clearly, and a set start helps you avoid the day drifting away before you’ve even left your hotel.
You can also read our reviews of more city tours in Auckland
Price and value: how to think about $713.66 for up to 2
Let’s talk money honestly. At $713.66 per group (up to 2), you’re paying for two main things: a private chauffeured luxury vehicle and the time of a driver who can run the loop efficiently.
So when is it good value?
- When you’re two people (or traveling with a partner/friend) and you’d otherwise spend time and effort arranging a car.
- When you want a “great hits” orientation without spending your whole day driving.
- When you care about comfort: snacks, bottled water, WiFi onboard, and no transport headache.
When might it not be the best deal?
- If you’re solo and would prefer to pay less per person.
- If you’re happy self-driving and you’re okay with navigation, traffic, and parking.
- If you plan to add a lot of paid entries (because Auckland Museum is explicitly not included).
The tour also includes GST, which helps avoid surprise add-ons. And it’s booked fairly early on average (about 47 days in advance), so if you’re going soon, it’s smart to lock it in before your dates get popular.
What makes this route work (and how the timing feels)
The tour runs about 5 hours. That’s long enough to feel like you did something meaningful, but short enough to keep the pacing from turning into a full-day grind.
A big advantage is how the stops map onto Auckland’s geography:
- Start with a volcano lookout for a city-wide perspective.
- Move into central sights and harbor viewpoints.
- Then transition into bayside areas and classic neighborhoods with frequent photo opportunities.
The stops are mostly short (often 10–20 minutes), with a longer stretch at Devonport. That’s ideal if you want photos and orientation, not museum marathon mode. If you’re the type who loves lingering, you’ll want your driver to build in a little extra time at your must-see place.
Also, because it’s private transportation, you’re not stuck waiting for a slow group in the next lane or trying to herd anyone across intersections.
Personalization in the real world: small-group flexibility with real drivers
The highlight in the feedback isn’t just that the sights are good. It’s that the plan can shift.
In the reviews I looked at, Robert is noted for modifying the tour based on what you’ve already seen, including adding spots that feel off the beaten path. Kris also gets praise for tailoring the route to what people want to focus on, including stops that may go beyond the most obvious guidebook choices (botanical gardens came up in one of the notes).
There’s also a practical side to this personalization. One review mentioned the driver being accommodating about motion sickness by allowing a daughter to sit in the front, and another included an extra touch at the end by dropping the family at their accommodation. You might not need that, but it signals the general approach: the driver is paying attention, not just running a fixed script.
For you, that means you should go in with:
- One or two “must see” priorities (like Mount Eden or a specific bay area)
- One “skip if needed” category (like if you’re not feeling a garden stop)
- Any comfort needs (motion sickness, walking comfort, etc.)
If you do that, this kind of private setup usually pays off.
Stop 1: Mount Eden for instant Auckland orientation

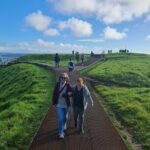
Mount Eden (Maungawhau) is one of Auckland’s most visited maunga, and for good reason. This is the kind of place that helps your brain connect neighborhoods quickly. Once you’re up there, Auckland stops feeling like a map and starts feeling like a city with a system.
The tour gives you about 20 minutes at Mount Eden, and it’s a free admission stop. That means you can take a short walk toward the summit area and still make it to the next parts without the day slipping.
What you’ll get here:
- Sweeping views over Auckland and the wider harbor region
- A quick sense of why the city’s built the way it is
- A natural photo moment that anchors your whole tour
Practical note: even though the stop is short, wear shoes you can trust on walkways. If you want a slower pace, ask the driver to extend time before you commit to the rest of the day.
You can also read our reviews of more private tours in Auckland





Auckland Museum and the Winter Gardens: short stop, good payoff
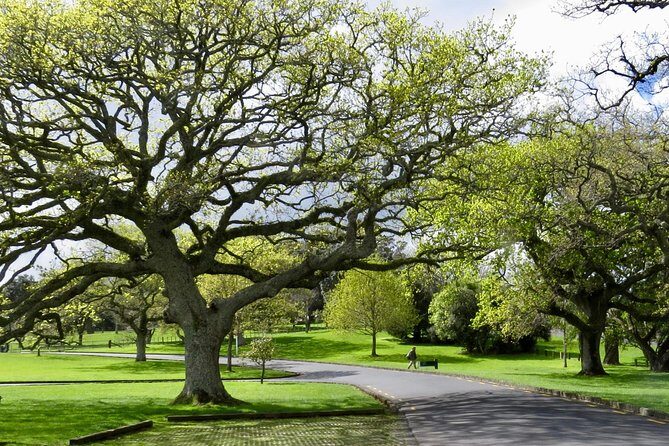
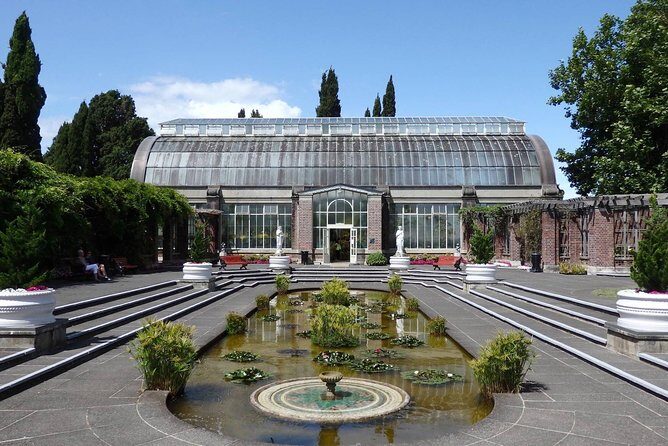
Next up is a drive through the Auckland Domain, with the Auckland Museum in view. The schedule includes a visit to the Winter Gardens.
Here’s the thing to know upfront: the Winter Gardens stop is listed as not included for admissions. So even though it’s part of the tour rhythm, you’ll likely need to pay for entry separately if you want to go inside.
Why I still think it’s a good stop:
- It gives you a calm indoor reset in a roughly 5-hour loop.
- It breaks up the lookout-heavy pace with something more “stay awhile” even if the visit itself is short.
If you’re traveling with limited time and you’re paying for a private car, you’ll want to decide quickly whether museum/garden time is your priority. If it is, go ahead. If you’d rather use those minutes for extra viewpoints, tell your driver early and you can adjust.
Bastion Point and Tamaki Drive: harbor views with minimal walking
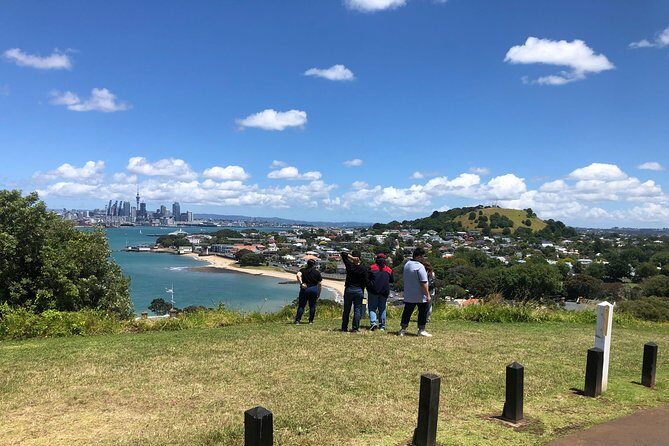
After the central area, you’ll hit Bastion Point for a brief stop with Māori cultural significance and views across the harbor, including Rangitoto Island.
Then the tour moves into the coastal drive through Tamaki Drive, with a look at Mission Bay. This is a classic Auckland corridor, and even a short pass-by can help you understand why people talk about the city’s relationship to the water.
Stops here are quick (around 10–15 minutes each), and most are free. That’s perfect for getting:
- Wide harbor angles
- Island views
- A sense of the shoreline neighborhoods
If you want more time at the beach side, the tour includes an option to take a walk at Mission Bay or grab a drink at a local café. Since the itinerary is customizable, this is one of the best places to trade “drive time” for “feet on the ground” time.
Parnell roses and the West Haven marina run
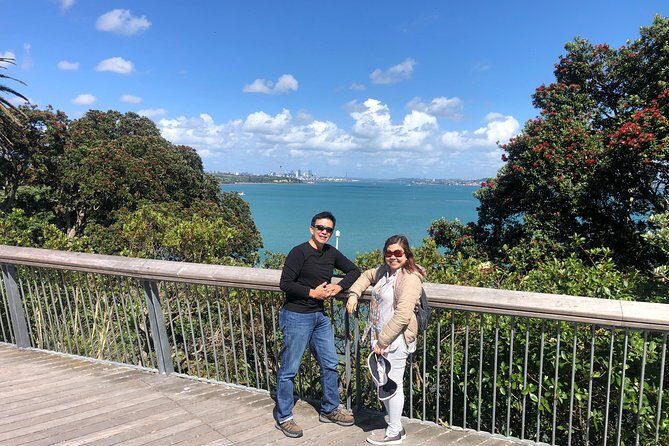
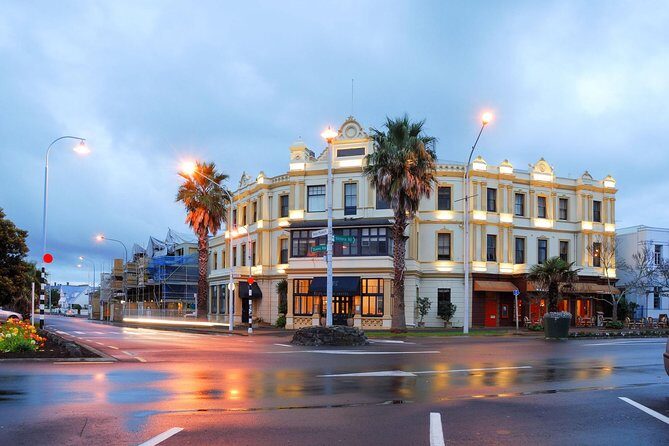
From Tamaki Drive, the tour goes through Parnell and includes a stop at the Parnell rose gardens.
This part works as a palate cleanser. You’ve just had water and views. Now you’re in a neighborhood feel with gardens and a more village-like pace.
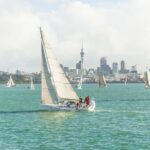
Then you’ll be driven through central Auckland downtown and toward the West Haven marina, where you can see yachts and sailboats and look toward the Auckland Harbour Bridge area.
Why I like this sequence:
- You get variety without losing time to backtracking.
- The tour transitions from viewpoints to neighborhoods to harbor energy.
- The West Haven marina stretch helps you feel the “Auckland is a port city” vibe without needing a separate ferry day.
If you’re a photo person, this is likely one of your favorite stretches because the bridge and harbor area tend to deliver strong visuals from a few angles.
St Heliers, Archilles Point, then Devonport for a change of pace
St Heliers comes next with a brief stop at Archilles Point for spectacular views over downtown Auckland, Waiheke Island, and Rangitoto Island.
This is one of those viewpoint moments that pays you back for your time. You’ll look back across the city and islands, and the harbor picture snaps into focus. It also helps if you’re curious about where day trips like Waiheke fit geographically.
Then comes a bigger shift: Devonport. This bayside village feel is a welcome change from the busier central corridors. The stop is about 30 minutes, which is long enough for:
- A casual stroll
- A coffee or something savory (note: coffee and tea aren’t included, so you’re on your own here)
- A chance to slow down and reset
The tour also points out the volcanic cone of North Head and its views. Even if you don’t do an extended hike, the general North Head area is an important part of Devonport’s story and the outlooks.
Little Shoal Bay Reserve: the quiet end of a strong morning loop
To close, the tour includes a brief stop at Little Shoal Bay Reserve. It’s a short stop (around 10 minutes), but it’s another downtown-facing viewpoint, and the purpose here is simple: leave with more angles and more context.
Because the final stop is short, you won’t feel like you’re dragging the day out. Instead, it’s a good “one last look” moment before you head back to your hotel or on to the rest of your plans.
If you’re traveling with someone who prefers a calmer end to activities, this is a smart fit. You’re not ending in a crowded, noisy place; you’re ending with a lookout-and-rest feeling.
What’s included (and what you’ll want to plan for)
Here’s where the tour shows its practicality.
Included:
- Private transportation in a luxury vehicle
- WiFi onboard
- Bottled water
- Snacks
- GST included
- Transfers can be arranged from the airport, ports, or central hotels
Not included:
- Coffee and/or tea
- Lunch
- Admission tickets for some stops, specifically Auckland Museum (the Winter Gardens visit is indicated as not included)
Meeting starts at 9:00am, and you’ll receive confirmation at booking with a mobile ticket.
If you want the smoothest experience, plan for lunch on your own or save your appetite for after. And if Auckland Museum/Winter Gardens is a must for you, build in the likely admission cost so there are no last-minute surprises.
Who should book this private Auckland tour?
This tour is a great match if you:
- Want to cover a lot of Auckland highlights in about 5 hours
- Prefer chauffeured comfort over self-driving stress
- Are traveling as a pair and want a small-group experience
- Like viewpoints and scenic neighborhoods more than slow museum time
- Value customization, especially if you’ve already done some sights
It’s less ideal if you:
- Are on a tight budget and don’t mind driving yourself
- Want long stays at each location
- Only care about one or two places (since the value here comes from the overall loop)
If you’re using Auckland as a stop before a longer trip, this is an excellent way to get your bearings fast.
Should you book this private Auckland city tour?
I’d book it if you want a clean, comfortable way to see Auckland’s best viewpoints and neighborhoods in a single morning, especially if you’re going as two and you’d rather pay for convenience than wrestle with logistics.
If your top priority is saving money, or you’re confident self-driving and parking won’t bother you, you can probably build a DIY route. But if your time is precious, this tour turns that time into city orientation, harbor angles, and neighborhood flavor—without the stress.
Given the strong track record (a 5/5 rating across 23 reviews) and the emphasis on drivers like Robert and Kris tailoring the route to what you already know, it’s an easy recommendation for a first Auckland visit.
FAQ
How long is the Auckland private city tour?
It’s about 5 hours.
Is pickup available?
Yes. Pickup can be arranged, including from the airport, ports, or central hotels.
What group size is this tour for?
It’s a private tour with a small group setup for up to 2 people.
What’s included in the price?
Bottled water, snacks, WiFi on board, private transportation, and GST are included.
What’s not included?
Coffee and/or tea and lunch are not included. Admission for Auckland Museum is not included.
Where does the tour start?
The start time is 9:00am.
Is this tour wheelchair or walker friendly?
Foldable walkers are allowed, and most travelers can participate. It’s also near public transportation.
Do I get a mobile ticket?
Yes, a mobile ticket is provided.
Can I cancel for a full refund?
Yes. You can cancel up to 24 hours in advance for a full refund.