REVIEW · AUCKLAND
Full-Day Auckland Discovery
Book on Viator →Operated by ELIM TOUR · Bookable on Viator
Auckland in one long day beats planning. This Full-Day Auckland Discovery tour strings together volcanic viewpoints, classic city sights, and coastal stops with a friendly guide named Israel. I especially like the small group size (max 8, so you’re not swallowed by a crowd) and the fact that most major stops have free entry. One thing to consider: you’ll do some walking and you’ll need to budget for Auckland Museum entry and lunch.
You’ll ride in an air-conditioned vehicle with WiFi onboard, and you get pickup and dropoff at your place. Choose a morning or afternoon departure, and expect about 7 hours of seeing Auckland from multiple angles—high, coastal, and city-to-harbour.
This is a great fit when you want an organized day but still want room to breathe and soak in the views. If you’re the type who likes quick orientation plus a few standout stops (not 30 checkboxes), you’ll probably enjoy this one.
In This Review
- Key things I’d circle before you book
- A Full-Day Route That Makes Auckland Make Sense
- Pickup and Timing: Morning or Afternoon, Then Go Go Go
- Mount Eden: Your Big Auckland View in About an Hour
- Cornwall Park and One Tree Hill: A City Park That Still Feels Wild
- Mission Bay Views at MJ Savage Memorial Park
- Holy Trinity Cathedral: Pacific-Gothic in One Place
- Auckland Harbour Bridge: Getting Your Bearings Fast
- North Head Historic Reserve and Devonport Mood
- Auckland Museum: The One Paid Add-On You’ll Want to Plan For
- The Real Value: What $179.97 Buys You (and What It Doesn’t)
- Small-Group Comfort: Why the Van Matters More Than You Think
- Tips to Make the Day Go Smoothly
- Should You Book Full-Day Auckland Discovery?
- FAQ
- How long is the Full-Day Auckland Discovery tour?
- Is pickup and dropoff included?
- What time does the tour start?
- What’s included in the price?
- Is lunch included?
- Is Auckland Museum admission included?
Key things I’d circle before you book
- Mount Eden first: start with a big altitude payoff while your legs are still fresh
- Most stops are free: you’re paying for guiding and transport more than ticket costs
- Guide Israel: friendly, attentive, and ready with local context
- North Shore feel in one day: you get Devonport area time without handling ferry logistics
- Museum is the one extra cost: plan for that separate admission before you go
A Full-Day Route That Makes Auckland Make Sense
Auckland can feel spread out. That’s the biggest reason this tour works. Instead of hopping randomly, you’re guided from volcanic viewpoints into “where-the-city-breathes” parks, then out toward the harbour and across to the North Shore mood.
The day runs for about 7 hours, and the pace is built around short, meaningful stops rather than long, forced stretches. The vehicle is comfortable, it’s air-conditioned (thank you), and the onboard WiFi means you can upload photos without hunting for signal every 10 minutes.
Also, the group size matters. With a max of 8, it’s easier to hear your guide, ask questions, and adjust on the fly if everyone’s interested in the same view. On quieter days, you may get what feels like extra-personal attention. That’s the real win, not just the number.
You can also read our reviews of more tours and experiences in Auckland

Pickup and Timing: Morning or Afternoon, Then Go Go Go
This tour offers pickup and dropoff at your place, which is a big deal in Auckland. You avoid the stress of parking or figuring out where the group is meeting. If you’re staying central, it’s also a smooth way to start without wasting daylight.
The morning option lists a 9:30 am start time. If you choose afternoon departure, the exact start time isn’t stated here, so you’ll want to confirm that at booking. Either way, plan your day around the idea that you’re out doing stuff, not just sightseeing from one neighborhood.
No lunch is included. That’s not automatically a deal-breaker, but it does change how you should plan. More on that later.
Mount Eden: Your Big Auckland View in About an Hour
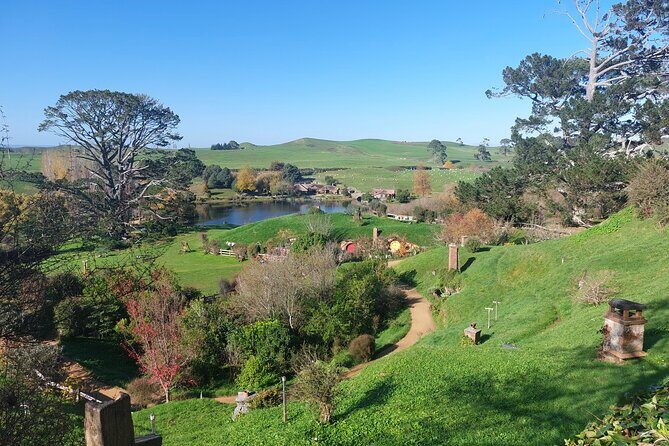
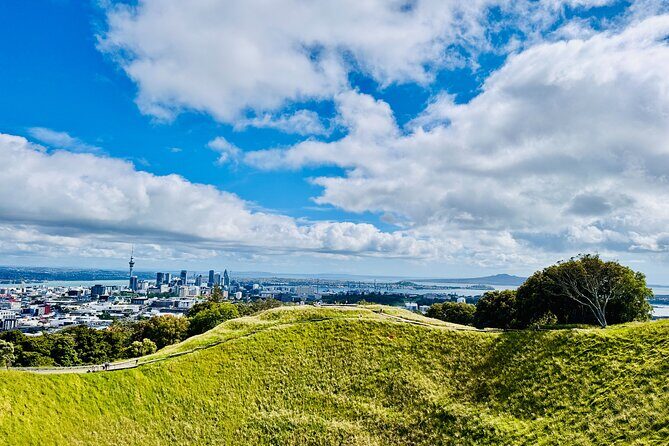
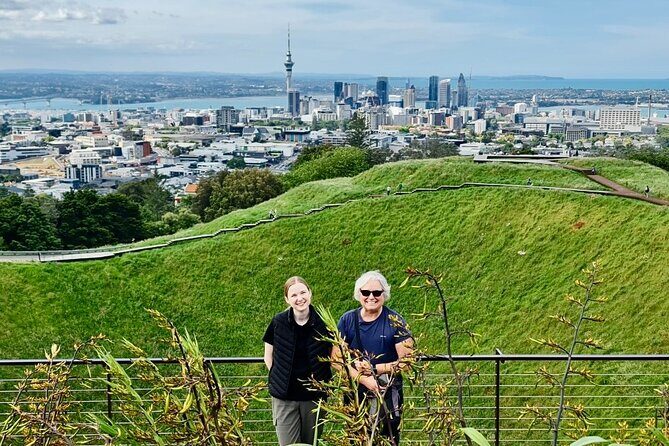
Mount Eden is one of those places where you instantly understand the city’s geography. It’s the highest volcano among Auckland’s 52 volcanoes, at 196 meters. From the summit, you get sweeping views over the city and its harbours—exactly the kind of “orientation view” that makes everything else click later.
You’ll have about an hour here, which is usually enough time to:
- reach the viewpoint(s) without rushing
- take in the crater and the wider panorama
- catch photos in different angles as the light shifts
A small caution: there’s a physical component. Even if it’s not an all-day hike, it’s still uphill walking to a viewpoint. The tour is listed as moderate physical fitness, so if you want very gentle strolling only, you might need to manage your expectations.
What I like about starting here is that it sets the tone. You’re not starting with a random cathedral or bridge first. You begin with Auckland’s “how it all formed” story—volcanic ground, harbour edges, and the city’s spread.
Cornwall Park and One Tree Hill: A City Park That Still Feels Wild
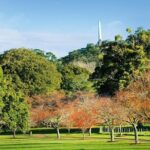
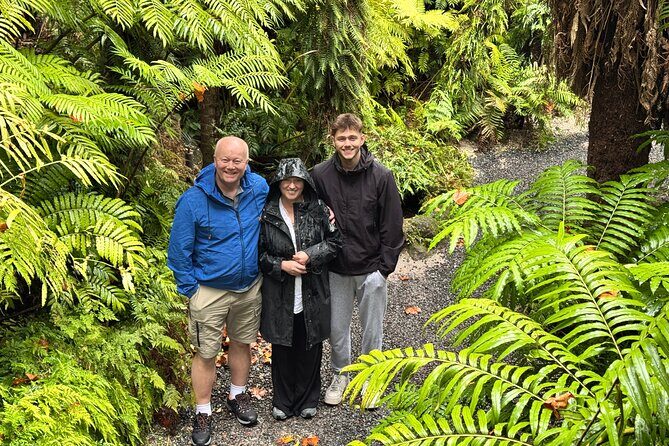
After Mount Eden, you drop into Cornwall Park, described as the largest volcanic park in Auckland. It’s the kind of place where you can feel nature inside the city center—trees, open areas, and plenty to look at without it feeling like a theme park.
You’ll usually spend around 40 minutes. That window is perfect for a short walk, quick photo stops, and a calm reset after the summit. It’s also where the “Auckland is green” idea becomes real. The park sits right inside the city’s orbit, so it’s not an all-day nature excursion. It’s a taste.
One Tree Hill is inside Cornwall Park too. If you like gentle viewpoints and want a break from hard city sightseeing, this is a good stop.
Potential drawback: if you’re expecting a big, structured attraction with timed exhibits, this is more about roaming and atmosphere. It’s less “pay and enter” and more “step out and breathe.”
Mission Bay Views at MJ Savage Memorial Park
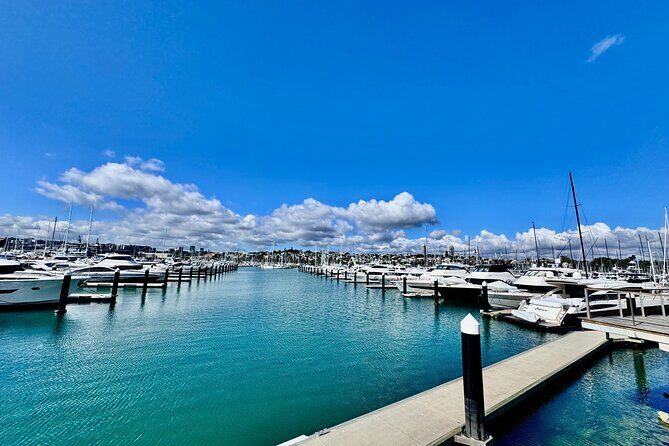
Next up is MJ Savage Memorial Park at Mission Bay. This stop blends a memorial setting with a garden feel and panoramic views. It’s also positioned for looking east-to-west, so you can catch wide sightlines across the water and coastline areas (assuming the weather cooperates).
You’ll get about an hour here. That time is generous enough to slow down—read, rest, and enjoy the view rather than treating it like a drive-by photo stop.
Why I think this matters: many city tours focus on famous landmarks only. This one adds a reflective stop that shows another side of Auckland—its people, its priorities, and the way viewpoints are tied to story.
Practical note: Mission Bay area views can be breezy. A light layer helps, even if it’s warm earlier in the day.





Holy Trinity Cathedral: Pacific-Gothic in One Place
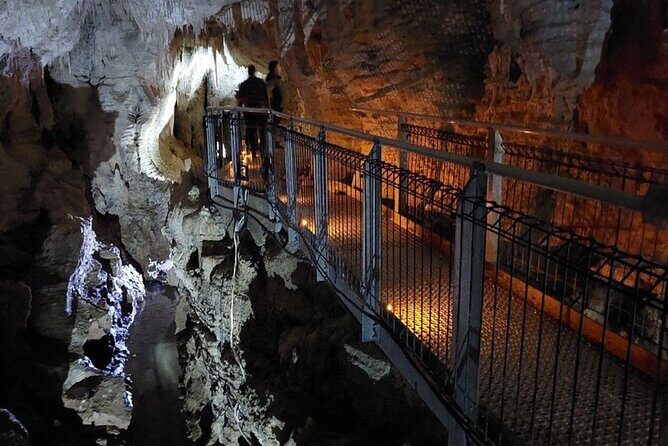
Holy Trinity Cathedral is a highlight for anyone who likes architecture with a specific personality. It’s described as the world’s only architectural example of a Pacific-Gothic cathedral, which immediately makes it more than just another church stop.
You’ll have about an hour, which is enough to look around at your own pace and take in the feeling of grandeur and beauty. This is also a chance to pause in a quieter setting, away from the constant motion of a sightseeing day.
There’s another related site nearby too—St. Mary Church is mentioned as something you can see during this stop. You won’t want to rush because the best part here is noticing details rather than speed-scanning.
Possible drawback: if you don’t care much about churches or architecture, this might feel like the least energetic stop. In that case, bring a more flexible attitude—treat it as a break and use the time to reset before the harbour and North Shore.
Auckland Harbour Bridge: Getting Your Bearings Fast

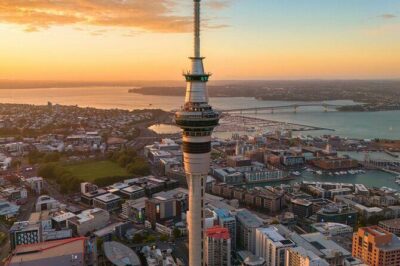
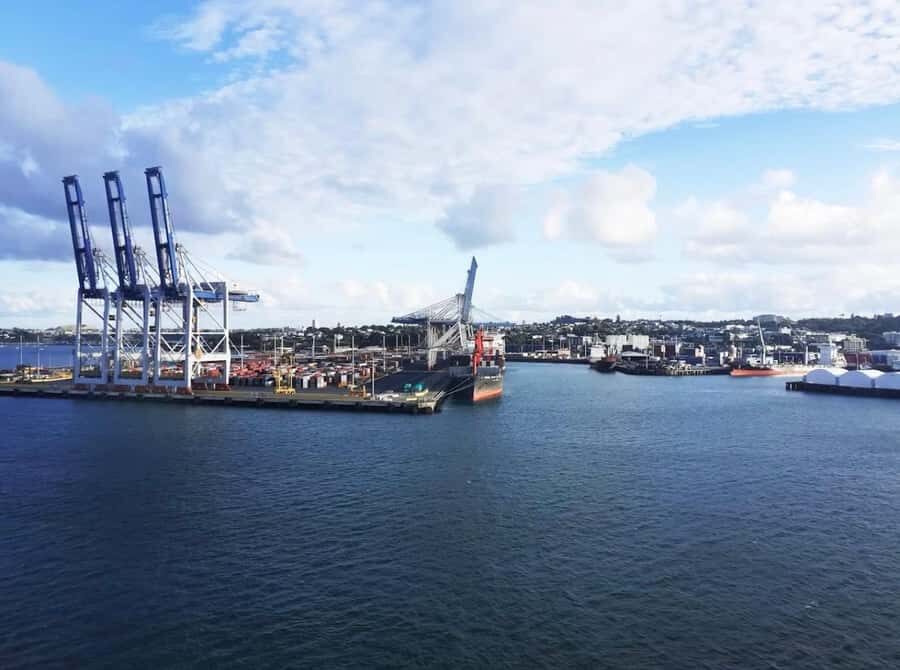
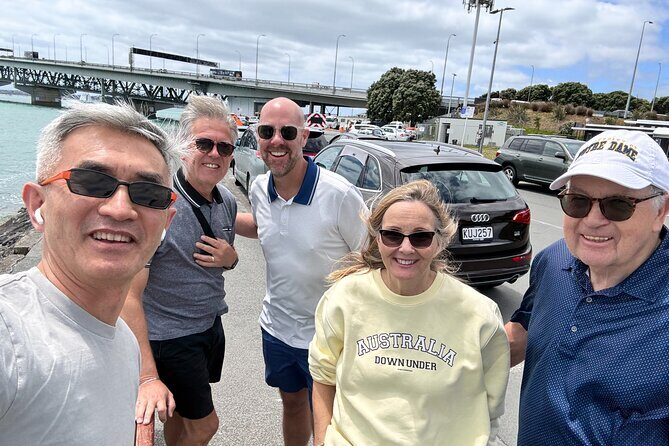
Then you’re at the Auckland Harbour Bridge, crossing Waitematā Harbour. This isn’t just a photo point. It’s a practical orientation moment. After you see it, Auckland’s layout makes more sense—CBD edge, harbour shape, and how movement across water shapes daily life.
You’ll have about 40 minutes here. That’s enough time for photos and a quick look at the bridge in context, without turning it into a long transit delay.
This stop is also useful because it anchors the day between the high viewpoints and the coastal neighbourhood vibe. You’ll feel like you’ve connected the dots.
One consideration: views can vary with weather and wind. If it’s a grey day, you may still enjoy the structure, but the harbour panorama might not look as dramatic.
North Head Historic Reserve and Devonport Mood
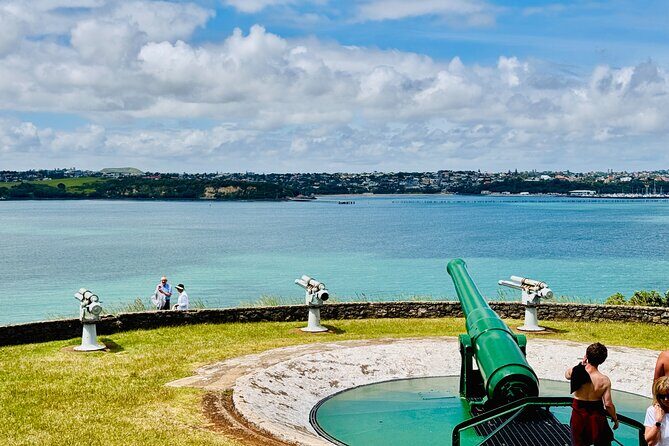
The tour heads to the North Head Historic Reserve area, with time linked to Devonport. Devonport is described as a quaint seaside village just a ferry ride from Auckland’s city centre. Even though you’re on a guided day, the point here is the change in mood: quieter streets, boutique-lined feel, and a relaxed pace.
You’ll spend about an hour around North Head. If you like coastal air and historic settings, this is a strong pairing with the harbour theme from earlier.
I also like that the tour doesn’t just park you at a single viewpoint. You’re given time to experience the area’s vibe before you move on.
Possible drawback: depending on the route and day’s conditions, the North Head portion might be less about specific indoor attractions and more about outdoor views and walking. Wear comfortable shoes and expect some uneven ground.
Auckland Museum: The One Paid Add-On You’ll Want to Plan For
The final big activity is Auckland Museum. This is where the day can shift from scenery to meaning—culture, history, and natural wonders all in one place.
You’ll have about 1.5 hours here. Admission isn’t included, so this is the one “budget item” you should plan for ahead of time. If you’re excited about Māori carvings, Pacific legends, and exhibitions, this stop is likely the best “slow down” ending.
This is also a smart finale after all the viewpoints. You’ve spent the day seeing Auckland’s physical shape. Now you see how people interpret that land and ocean—through art, stories, and exhibits.
How to use your time well: pick one or two things you really want to see and don’t try to sprint through everything. 90 minutes is plenty for highlights, but it’s not enough for a full museum marathon.
The Real Value: What $179.97 Buys You (and What It Doesn’t)
At $179.97 per person for an approximately 7-hour day, the value is mostly in three things:
- pickup and dropoff at your place
- transport in an air-conditioned vehicle with WiFi
- a guide/driver in English and Korean who helps connect the sights
The good news is that admission tickets are listed as free for most stops on the day. That means your money goes toward guided time and convenience, not piles of entrance fees.
What’s not included:
- Lunch
- Auckland Museum admission
This is where your planning makes or breaks the day. If you budget lunch well and treat the museum as an expected add-on, the price feels fair for what you get.
If you show up hungry and decide on the spot with no plan, you’ll spend your “tour energy” on finding food instead of enjoying the sights. So think ahead.
Small-Group Comfort: Why the Van Matters More Than You Think
A max group size of 8 can sound like a marketing detail. In practice, it changes your day.
With fewer people:
- your guide can move at a pace that fits the group
- questions are easier (and answers are more likely to match your interests)
- you spend less time waiting around for a big crowd to regroup
The vehicle is a comfortable minivan-sized setup, and that matters when you’re out for hours. You get WiFi and air-conditioning, which helps if your day includes time outdoors and then returns to the car for the next stop.
Tips to Make the Day Go Smoothly
Here are a few practical things that help you enjoy this kind of packed city day:
- Bring water. Even with short stops, you’ll likely walk more than you expect.
- Wear shoes that handle sidewalks and park paths comfortably.
- Pack a light layer. Harbour and coastal areas can get breezy.
- Plan your lunch slot. Since lunch isn’t included, decide whether you want a café meal, a simple takeaway, or something you can grab near the day’s areas.
- If you care about the museum, plan your priorities before you arrive. With 1.5 hours, a focused plan beats wandering.
Should You Book Full-Day Auckland Discovery?
I’d book this if you want a smart, organized Auckland day with a high chance of getting great views and useful context. It’s especially good if you like:
- starting with Mount Eden-style “big picture” orientation
- mixing iconic landmarks with calm parks and coastal areas
- a small group and a guide who can give personal attention
I’d hesitate if you hate walking or need a tour with lunch and all paid entries handled for you. Also, if you’re not interested in cultural exhibits, the Auckland Museum stop may feel like extra time rather than a highlight.
For most people doing their first Auckland visit, this is a solid way to make the city feel understandable by the time the day ends.
FAQ
How long is the Full-Day Auckland Discovery tour?
It runs for about 7 hours.
Is pickup and dropoff included?
Yes. Pickup and dropoff at your place are included.
What time does the tour start?
The start time listed is 9:30 am. There is also a choice of morning or afternoon departure.
What’s included in the price?
A guide/driver in English and Korean, an air-conditioned vehicle, GST, and WiFi onboard are included.
Is lunch included?
No. Lunch is not included.
Is Auckland Museum admission included?
No. Auckland Museum admission is not included, though you’ll have time to visit for about 1 hour 30 minutes.